heart pump manual
Last updated: 15 Aug 2024 | 95644 Views |

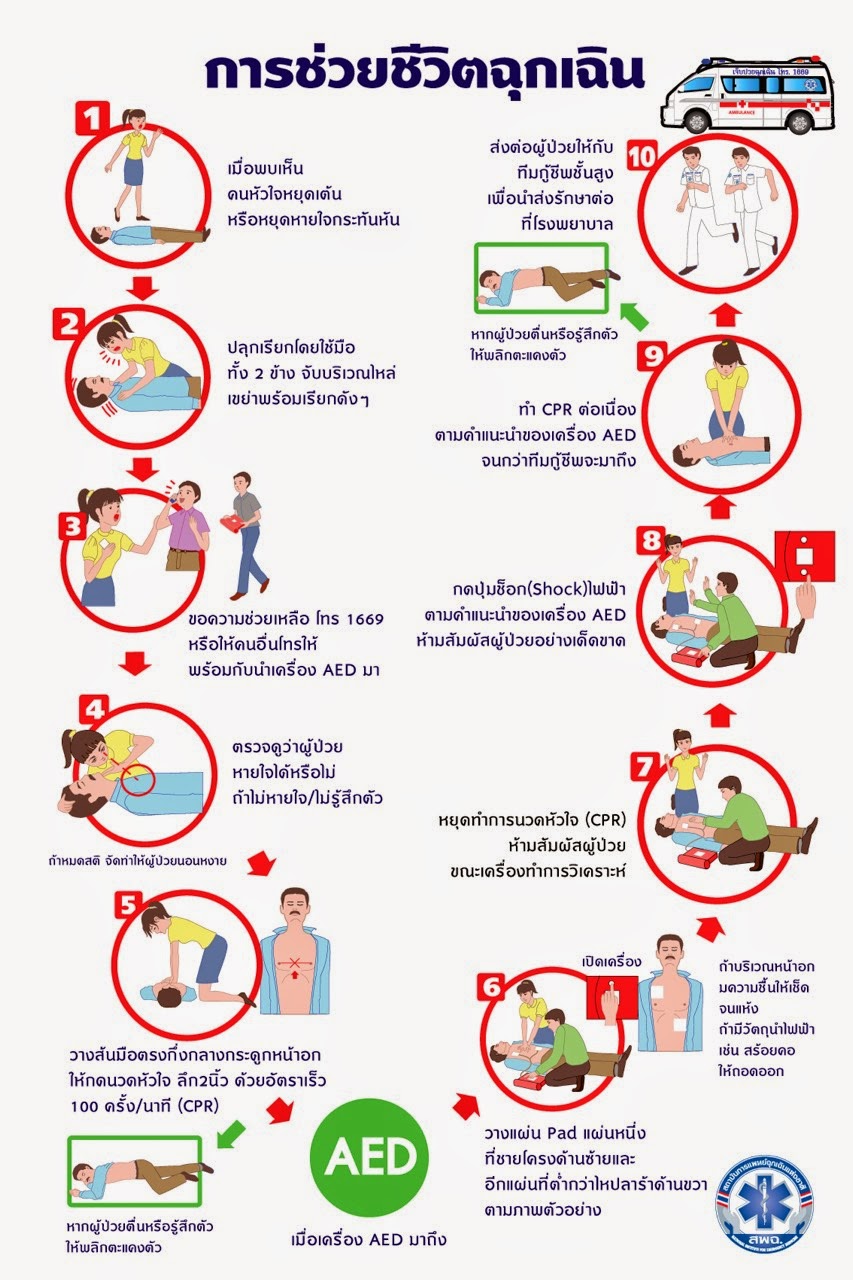
Saving a patient's life is an important step. If each step is followed correctly and appropriately, it will help the patient to survive. with the following important steps:
1. Awakening the Unconscious with quick help
2. Efficient resuscitation
3. Rapid use of defibrillators.
4. The emergency medical team took over quickly and efficiently.
5. Advanced cardiopulmonary resuscitation and cardiac arrest care at the hospital
Adult Basic Life Support

Step 1. Look at readiness and safety first. help
The rescuer assessed whether the scene was safe or not. By assessing the surrounding area for dangers such as poisoning, electric current, explosions, etc. If it is not safe, the patient should be moved or referred to a rescue team.
Assess whether you are ready to help others, such as meeting a drowning victim who cannot swim.
Step 2. Evaluate the patient's response.
Assessed by patting the shoulder while shouting, “You… you… how are you?” and look at the page. If you don't answer, don't move, don't moan. Not moving the face and corners of the mouth indicates that the patient does not respond.
If the patient responds, further assessment is required to seek emergency services. and re-evaluated periodically
Note: In case of suspected head and neck injury Do not try to move the unconscious person. Because moving will cause patients with spinal injuries. can induce paralysis

Step 3 Get Help
Shout for help from someone nearby, or use a mobile phone to call for help from the Emergency Medical Service (ambulance) system by dialing 1669, turn on the loudspeaker and place it next to the patient. by connecting the line all the time until the officer asks to hang up The staff will provide all the information necessary to assist.
· Prepare an automatic defibrillator
· Listen to the advice of the 1669 emergency department at all times.
· If you're alone and don't have a cell phone Go to the emergency department or ambulance first.
Note: Always listen to the advice of emergency services 1669. Never hang up.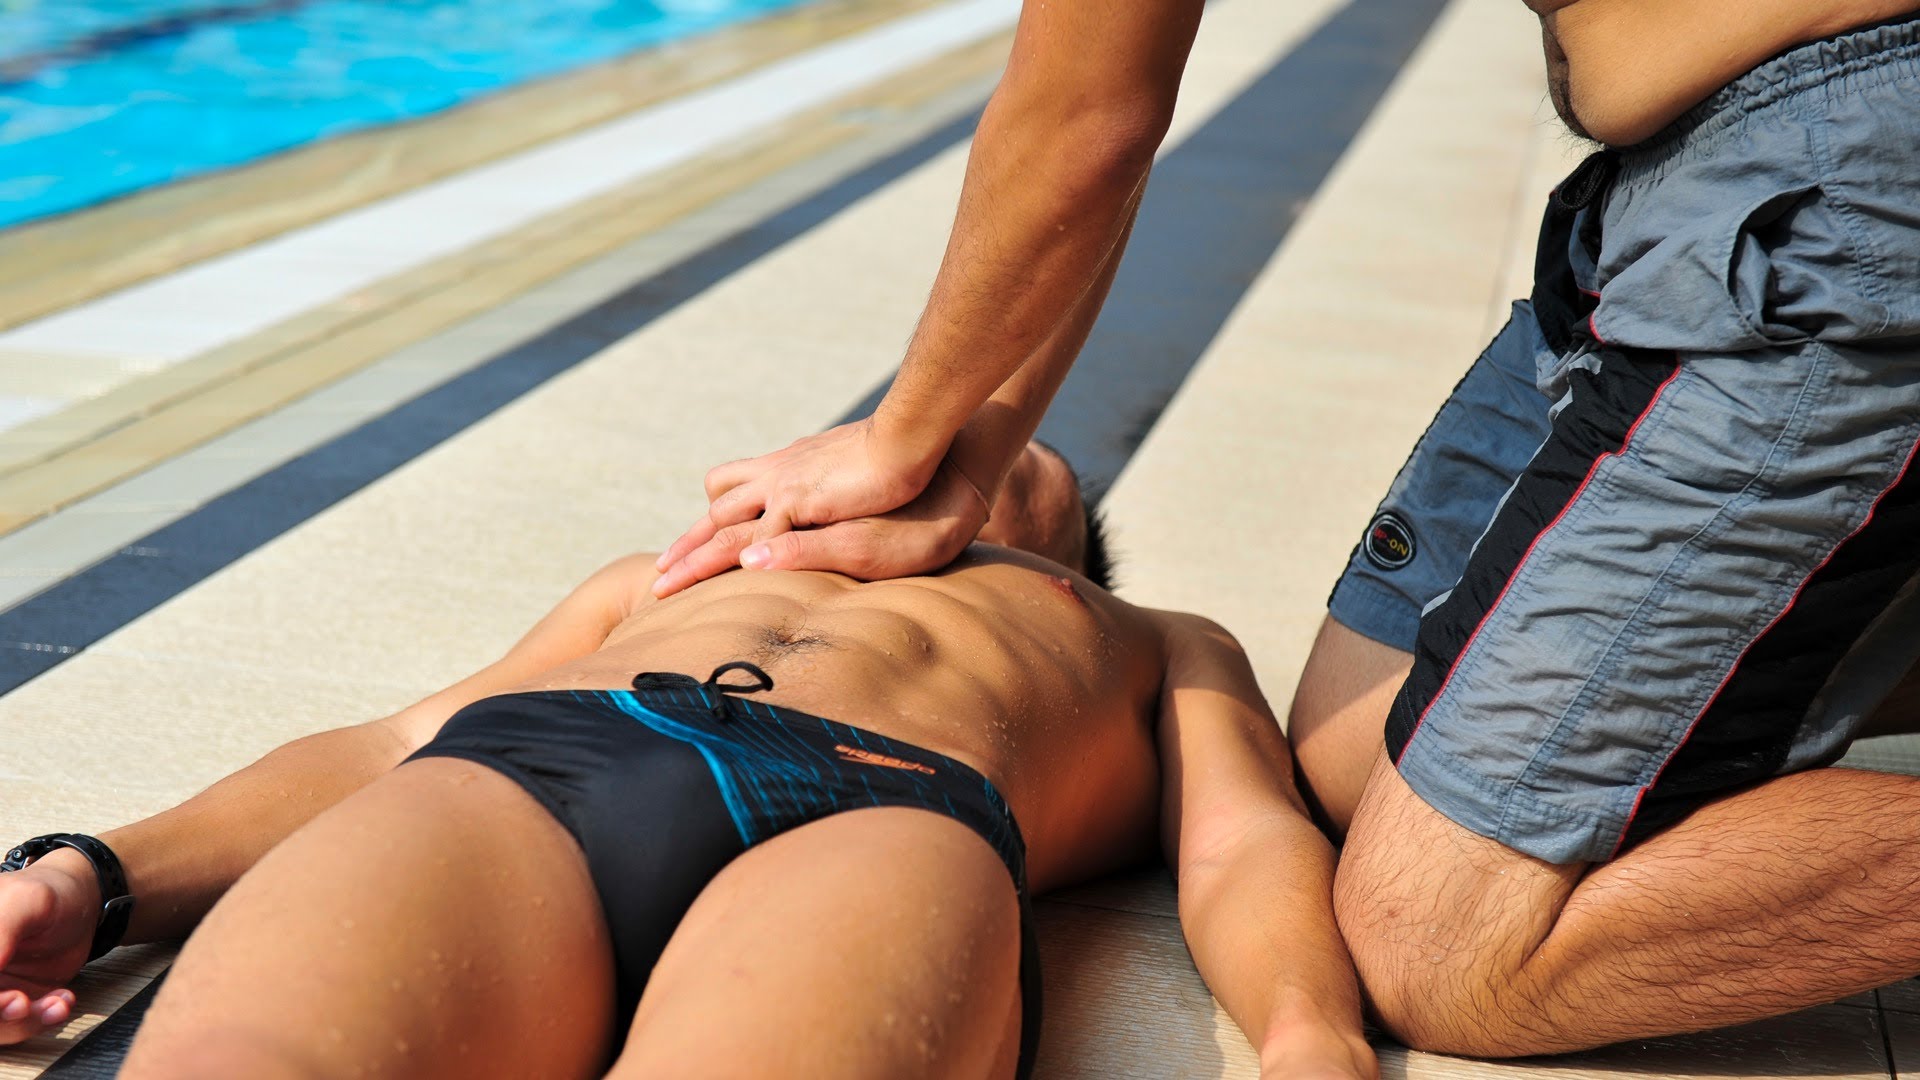
Step 4: Position the unconscious patient to lie on their back.
If the patient is unconscious in the prone position, turn the patient to the supine position on a flat, level, hard floor with both arms stretched at their sides.
Step 5 Assess breathing within 10 seconds.
Assess the patient's breathing by looking at the unconscious person's chest. If the unconscious person is wearing clothes, remove them until the chest is clearly visible. by looking for at least 10 seconds
If moving normally, observe symptoms every 2 minutes and wait until the 1669 emergency team arrives.
Perform chest compressions immediately and provide 30 compressions, alternating with 2 rescue breaths and using an defibrillator.
Note: If your mouth moves but your chest doesn't move in 10 seconds, immediately begin chest compressions and rescue breaths.
Step 6 Chest Compressions
1. Place the slit of the left hand (the ridge of the hand) on the chest between the nipples or middle of the sternum of the victims Then place the palm of your right hand over your left hand. Keep your elbows steady, arms straight, do not bend your arms, bend your shoulders above the unconscious. by the direction of vertical pressure down to the sternum
2. Press directly on the victim's chest with a depth of 2 inches, or 5 cm to 2.4 inches, or 6 cm, at a speed of 100-120 times per minute by counting “one, two, three, four, five, six, seven, eight, nine, ten, eleven, ten. two thirteen fourteen fifteen sixteen ... twenty twenty one twenty two ... twenty nine thirty.”
3. Strokes to bounce back to make the chest bounce back to its original position every time. Do not hold on to the weight because it will make the heart not fully relax.
note
· Effective chest compressions require quick, deep compression, non-stop compression.
· Stopping chest compressions as the blood flow stops.
· Stopping for more than 10 seconds makes the patient much less likely to survive.
Step 7. Open the airway.
in the unconscious cardiac arrest brain ischemia causing loss of control of the tongue muscles causing the tongue to fall to block the airway Must help by raising the lower jaw. so that the tongue attached to the lower jaw is lifted open the airway With the method of pushing the forehead and chin-shaking, Head Tilt-Chin Lift
1. Place your hand on your forehead. Then use the other hand to hold the bone of the chin.
2. Press your head down and lift your chin up.
note
· Avoid pressing on the chin as it will close the airway.
· Avoid pressing your chin so hard that it covers your mouth.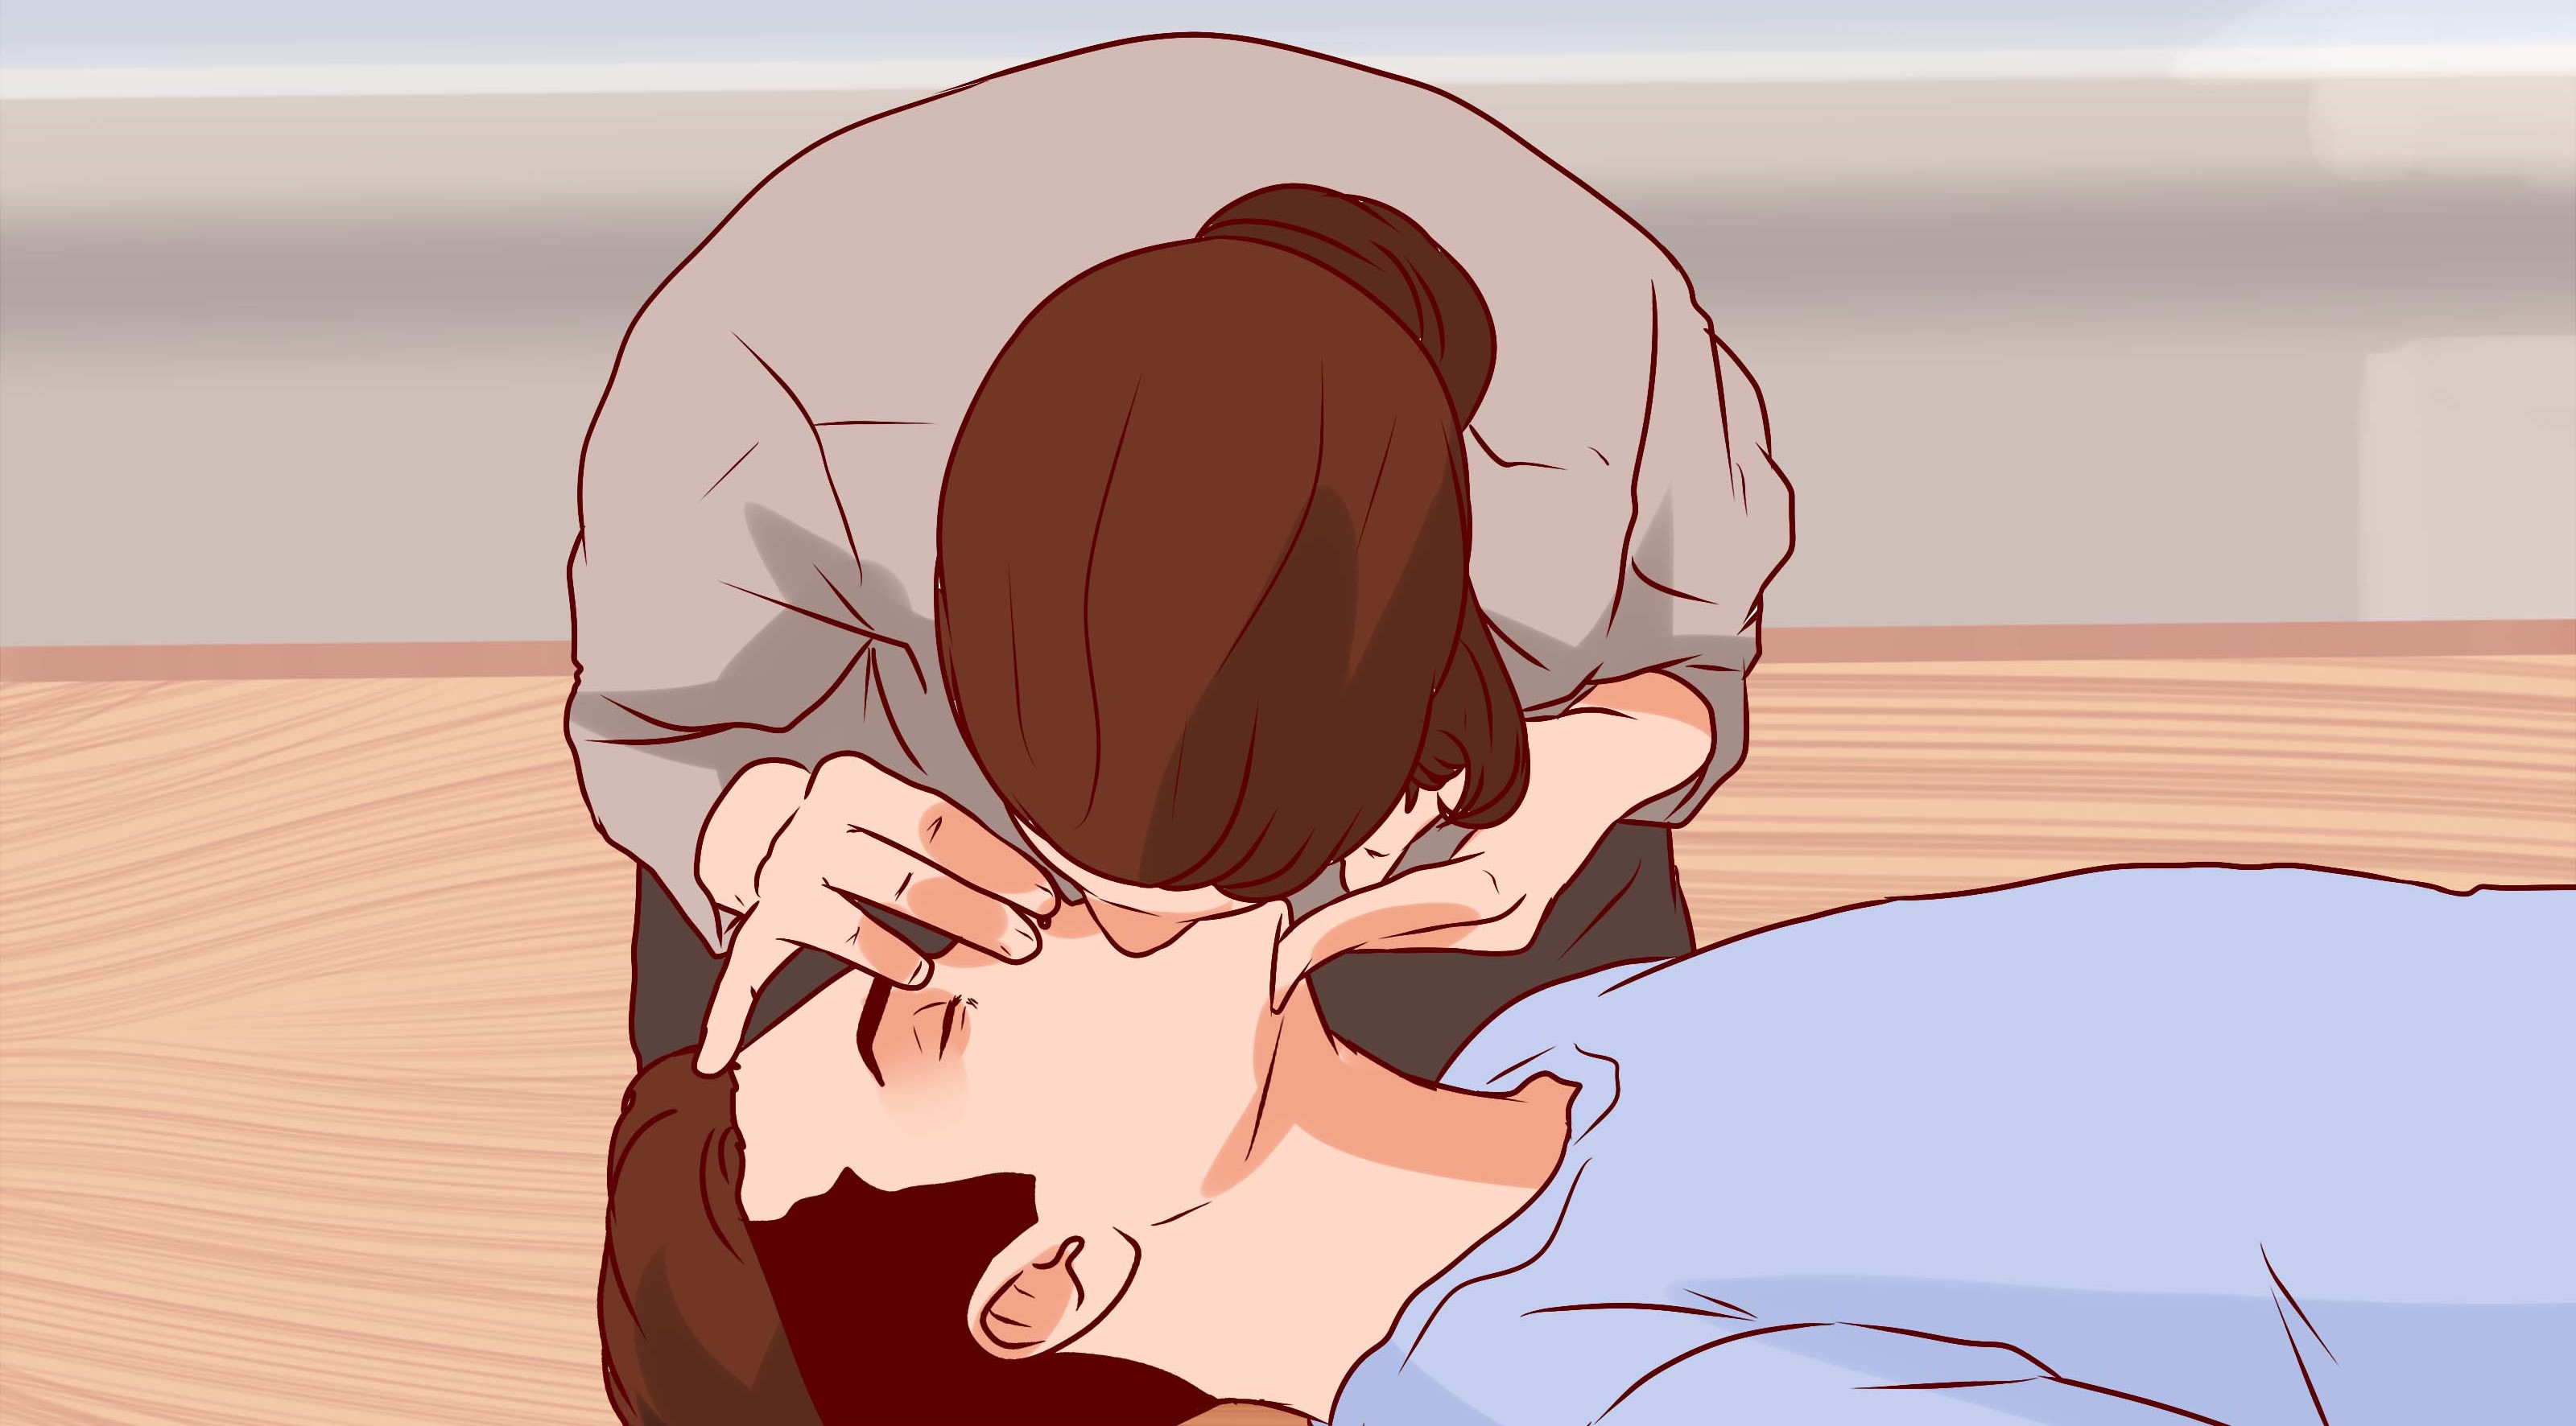
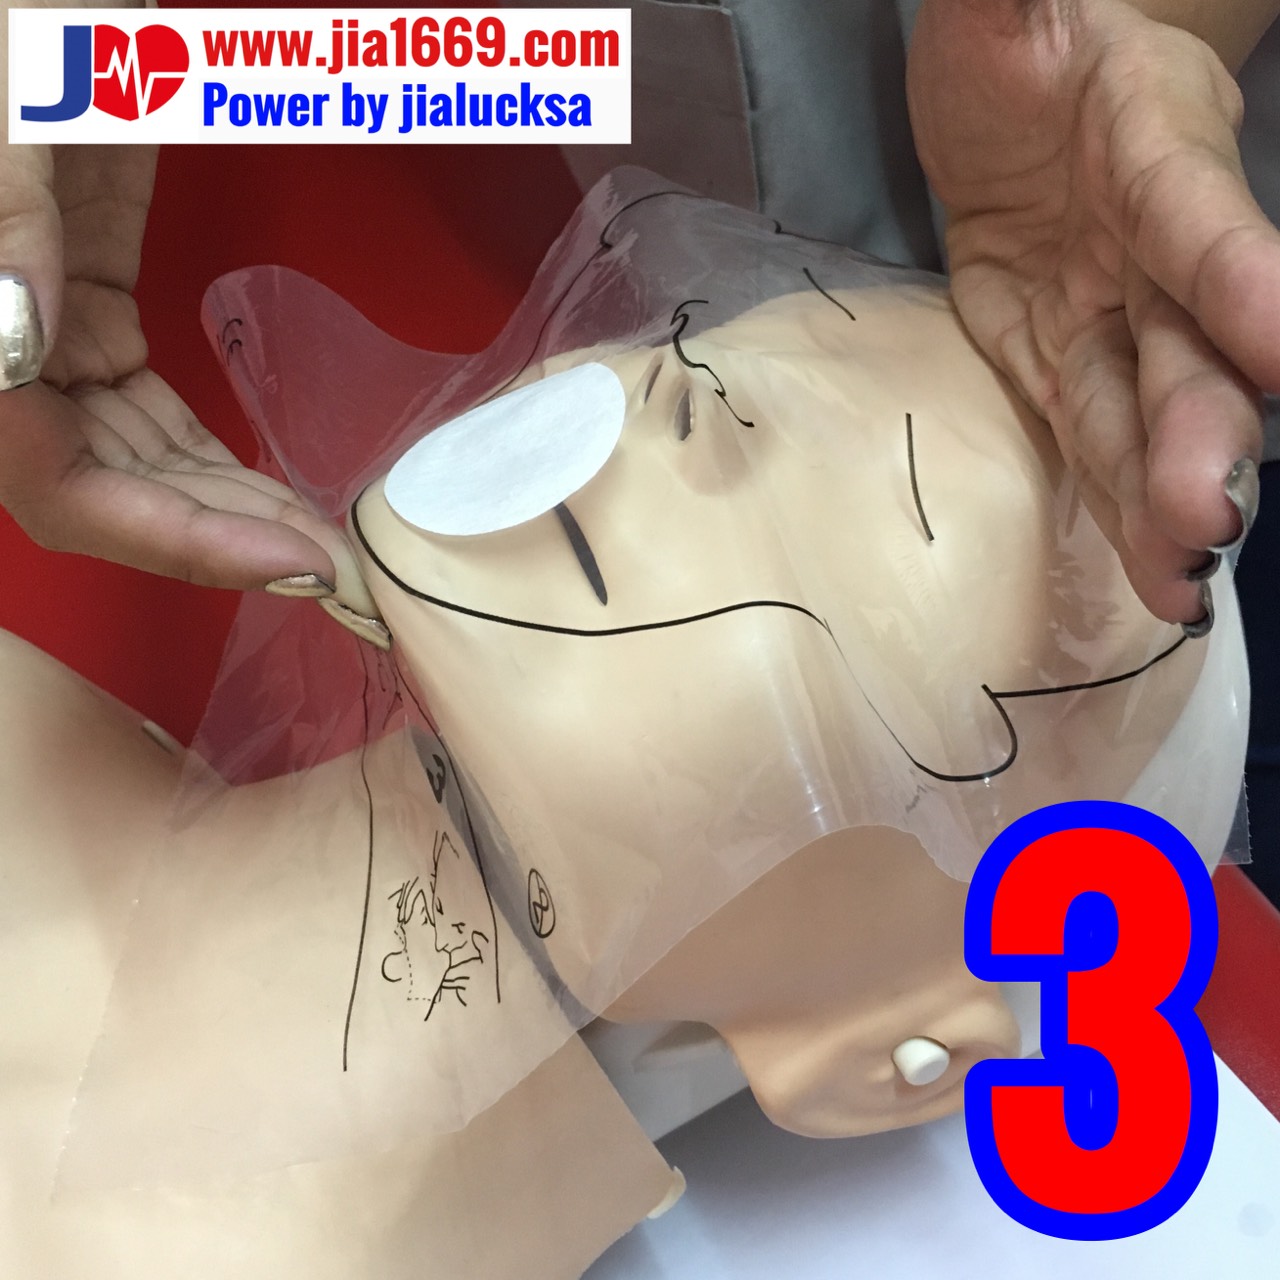
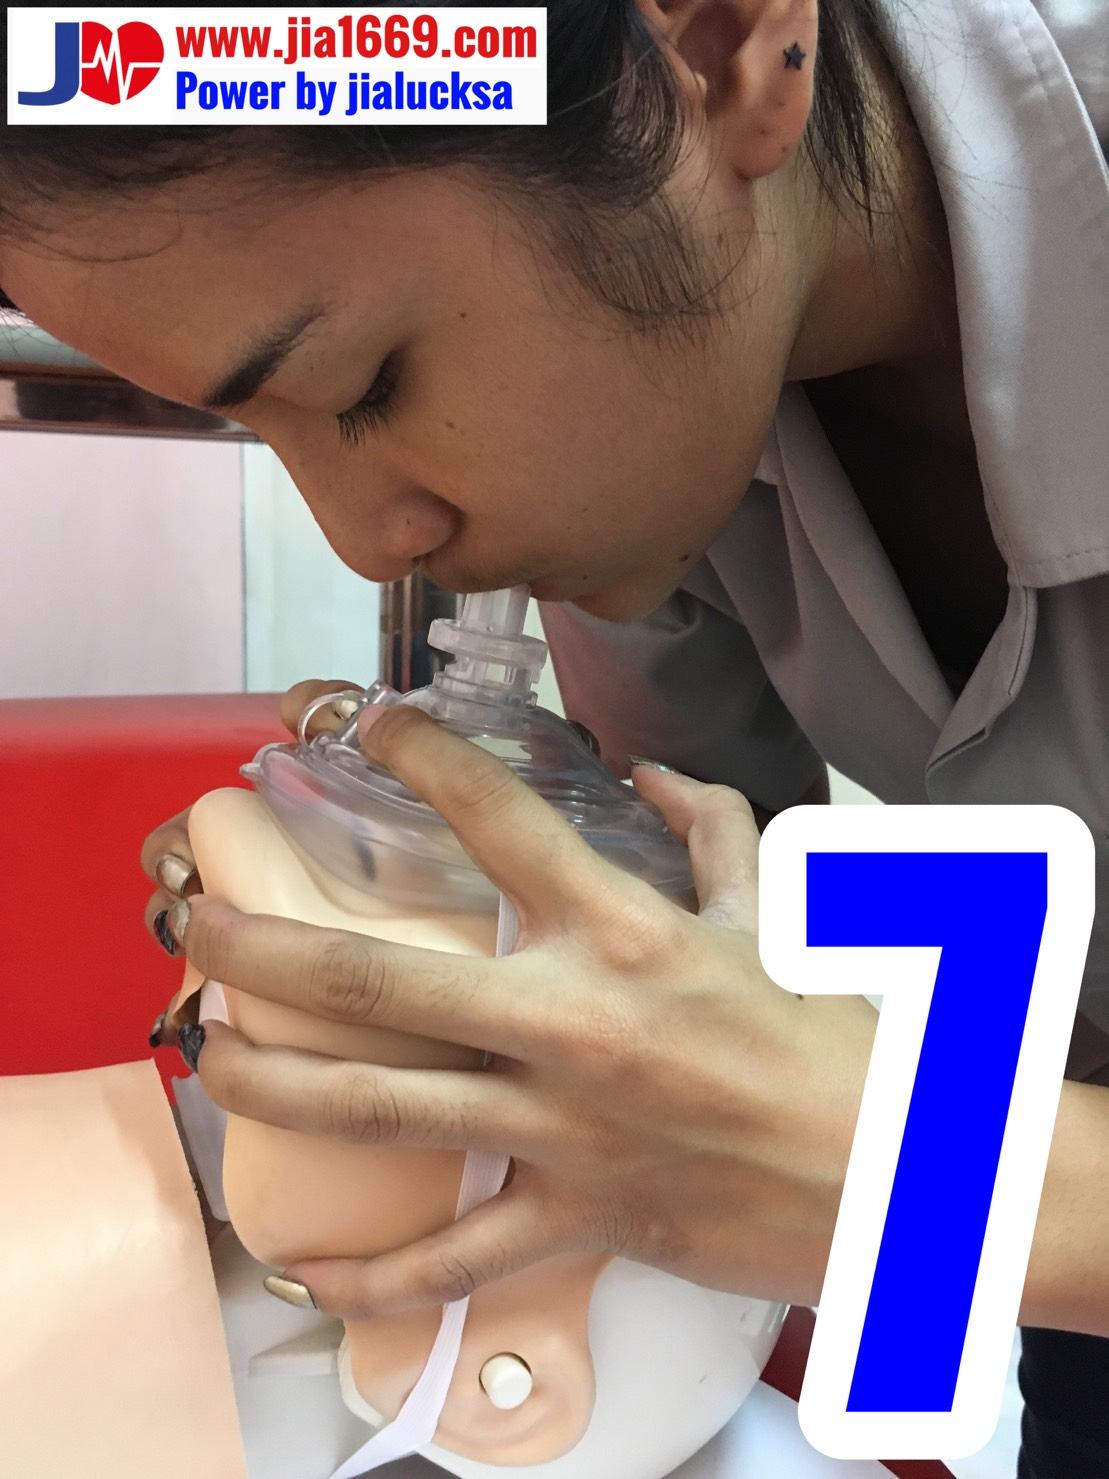
Step 8 Blowing air into the lungs
1. Open the airway. Then squeeze both noses by holding the wings of the nose.
2. Give breath by blowing from mouth to mouth.
3. Give 2 total breaths (at least 1 second each).
4. Observe the movement of the chest.
Step 9: Pump the heart 30 times, alternating with 2 breaths until
1. The patient moves, breathes, coughs, or
2. Automatic defibrillator will arrive.
3. Rescuers, ambulances, team 1669 will arrive.
Note: In the event of a rescuer come to help increase The duties of the chest compressions should be alternated with those who perform ventilation every 2 minutes (5 cycles).
Automatic Electrocardiogram (AED) or AED
The use of AEDs is another very important step in the chain of survival. AED or automatic electric shock It is a device that can accurately “read, analyze and assist electrotherapy” effective This will bring the ECG back to normal and the heart will be able to pump blood to the body normally.
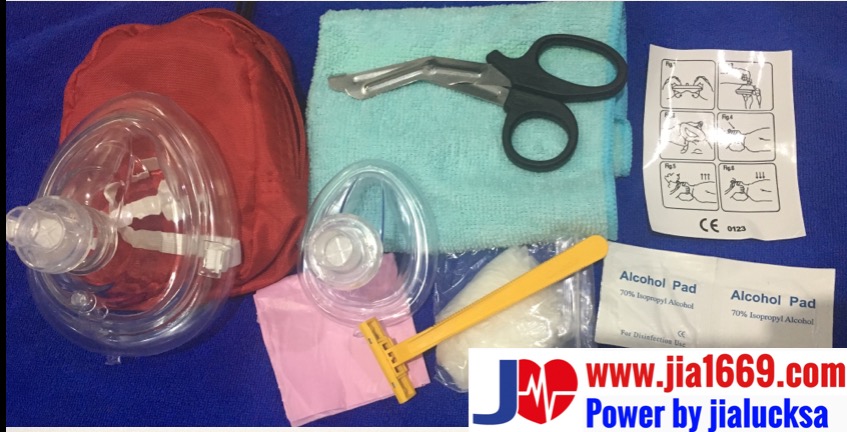
1. Turn on the machine and take off the victim's clothes (if it cannot be removed, use scissors to cut the patient's shirt off).
2. Place the patch on the victim's chest as instructed. by attaching it to the patient's chest The first disc is attached below the collarbone above. and another sheet is attached under the left breast rail on the side of the body
3. Provide AED ECG analysis During that time, do not touch the patient is strictly prohibited.
4. Do not touch the patient. If the device detects a healing electrocardiogram, press the SHOCK button by shouting out loud “I back, you back, everyone back” and then press the SHOCK button.
5. Wait for the next command heard from the machine.
It stops only when the heart pumps.
1. The emergency team, ambulance or rescue team will arrive. and take the victims away
2. In the meantime, follow the machine by chest compressions, breaths, and discharge according to the AED instructions continuously.
Placement of cardiac shock pads
In addition to the recommended positions, there are 3 other recommended positions.
1. Front and back
2. Anterior and posterior under the left scapula
3. Anterior and posterior under the right scapula
with equal efficacy in treating cardiac arrhythmias
Electrical shock in patients with internal defibrillation
Most of them are embedded internal electric shocks. on the upper left chest If the shock pad is placed near the device, the AED will not work because it will read the heart rhythm from the internal defibrillator. Therefore, it should be Keep the distance from the ICD about 8-10 cm.
Using AEDs in special situations
1. In the case of a patient with a lot of chest hair : Chest hair will prevent The conductive pads are attached to the chest. Therefore, the chest hair should be shaved off before attaching the conductive pads every time.
2. In case of wet patient: should remove the patient from the wet area. Then use a towel to dry the patient's chest before applying the conductive pads.
3. In the case of a patient with a transdermal dosing patch on the chest: remove the patch. Wipe the area and then attach the conductive plate of the AED.

Related content
CPR and AED instructors
24 Mar 2025
Basic First Aid for Public
24 Mar 2025
First Aid For the general public
30 Jul 2024
